What Are You Eating?

This post starts off with a little bit of history on myself. It’s still raw, emotional and private but somewhat necessary for the topic in this blog post. It also explains the main idea behind this blog, who and what it is about.
I had a period in my life where I was extremely unhealthy. These were in my teens years, when I was becoming more independent with food choices and was able to purchase and cook my own food. When I moved out of home as a teenager it of course got worse. I knew nothing about nutrition nor did I care about my health. I smoked a pack a day, never exercised, didn’t sleep, ate vegetables maybe twice a week and ate junk food upon junk food every single day. I suffered from anxiety and depression so severely that I was hospitalized many times over many years. I was diagnosed with every mental illness under the sun over about 10 years. This was not all down to nutrition in my case, it was also to do with being on medication that was supposed to be the answer, but in fact was half the cause  – but my story is far too big to really get into now. Perhaps one day I’ll go there (for now you should check out this doco).
A long story short, after coming off the poison (I mean, medication) I slowly cleaned up my health. I started to eat better, cut out soft drink (at one point it was 2 litres a day), quit smoking and not only did I physically improve my health but mentally I was great. I felt alive! Having been told I would never last off medication and would eventually relapse, I looked more and more into how to support myself with nutrition. The theory that mental illneses (and autism etc) can be because of lack of vitamins, minerals and general poor nutrition was a new one but made complete sense after what I’d been through personally. 
Since having a baby I’ve had a lot of questions and comments regarding the way we raise our daughter. I’ve been told I over react to what she eats and am causing her more harm than good by “denying” her of packaged process shit.
Olivia is 16 months old now and as a newborn she had “reflux” and after much investigation we discovered dairy was causing her the upset and therefore she became 100% dairy free, as did I, because I breastfed her. This is where I took a bigger dive into my healthy lifestyle. Having a baby has been wonderful for me in more ways than one!
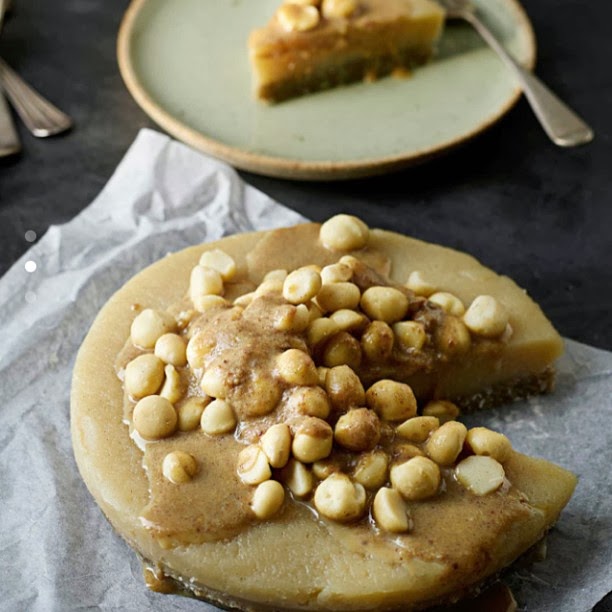
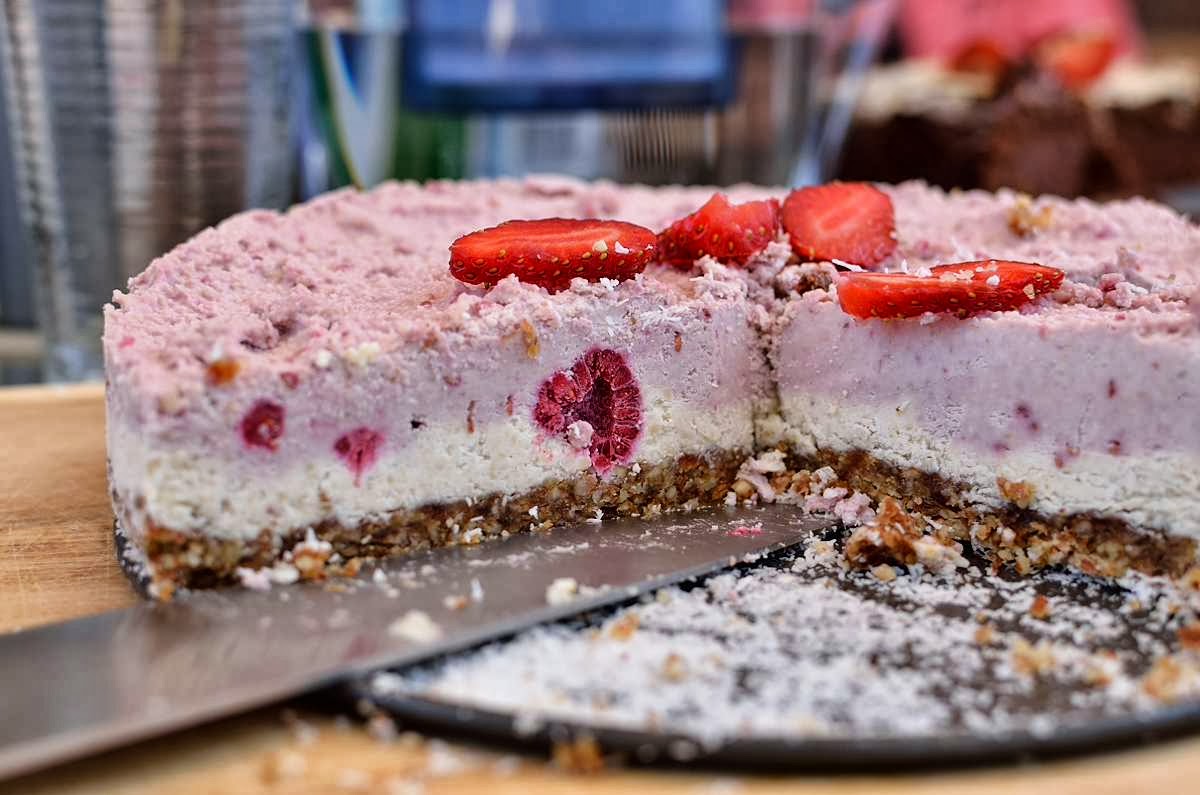
Now my whole family tries to avoid dairy, gluten and refined sugar and we definitely stay away from colourings, preservatives, additives and all the fake stuff listed on packet food that I can’t even pronounce (a sure sign we shouldn’t be consuming it). We eat meat once a week, if not less often. We try to eat raw, and cram as many vegetables in as possible. We use superfoods on a daily basis. I make almost everything from scratch. Of course we have dairy, gluten, sugar etc on occasion. We can’t avoid it everywhere we go. Birthday parties, relatives that just don’t understand, shopping centers, it’s-a-long-car-trip food  etc. People ask “but what do you eat?” Simple answer… whole foods. 
So, what has prompted me to write this blog post? Well I read THIS ARTICLE this morning which was interesting but not surprising. It’s about the studies. by US experts, into chemicals (fluoride, pesticides etc) causing brain development disorders in infants and young children (heck, even adults) like ADHD, dyslexia and autism.
There was also recently this TED talk I watched this week about how a mother completely eliminated her daughter’s autism symptoms through diet (don’t get me started on how free glutamate is the base of all vaccines, which is furthermore food for thought [no pun intended] and again a whole new discussion). 

These days for me it is a no-brainer. But for so many others it’s a joke to them. They think it’s paranoia, or a fad, or just plain bullshit. I find the people who say that are uneducated, uninterested and scared. Don’t feel guilty, don’t be scared, because it’s never too late to change.
My point of this post is this:
We really need to think about what we are feeding our children. I feel so strongly about this since becoming a mother. I’m writing this post to raise your awareness. I can even vouch for it’s truth myself. Share the links in this post, or share the link to this blog post. Do your own research into it, educate yourselves. Become informed and aware. Make changes. Feed your family what you all deserve. Take care of your health. Without it, you are not here.

Very Tired

I’m tired. Very tired. Olivia has tooth #7 coming through and therefore is not sleeping very well. Which means not only am I tired but I’m also sore because she insists on breast feeding all night. So I have nothing interesting to post today. So here is a load of recent pictures of my adventures in the kitchen.

 photo photo213-1.jpg

 photo photo2-2.png

 photo photo45.jpg

 photo photo311.jpg

 photo photo33.jpg

1. Tropical style smoothies are my go-to lunch right now with the heat being in the 30’s and 40’s. This one is topped with coconut and bee pollen. Easy to whack it all in the blender and tastes amazing. If only I was on a tropical island to match.

2. Was going to make a lemon meringue. Decided to give a clean recipe from IG a whirl and made a lemon tart instead. Tastes exactly the same as the lemon meringue (minus the meringue obviously) but the consistency wasn’t very pleasing – it was like half dried glue or as the Hubby said, “snot”. Delightful.

3. Scored punnets of strawberries for 99c each over the weekend. They were end-of-life quality so after making a smoothie, feeding them to the kid and having them on my breakfast cereal, I made this Strawberry Jalousie (recipe on my Instagram).

4. As mentioned above, the strawbs needed to be used, so in this smoothie went a big handful of them along with some blueberries, baby spinach, banana, black sesame seeds, coyo, bee pollen, maca powder and almond milk. Breakfast is served.

5. Healthy and “clean” flourless chocolate muffins via Teresa Cutter. I used raw cacao instead of cocoa powder which made it taste pretty bitter. Next time I’ll have to add more sweetener (agave, maple syrup etc). The recipe is here.

{Recipe} TWP Caramel & Macadamia Raw Cheesecake

Image from The Whole Pantry app.

“Healing_Belle” was one of the first “clean foodie” accounts I found on Instagram. She is a wonderful woman based in Melbourne who has brain cancer. Instead of conventional treatment (chemo etc) she decided to use food and a healthy lifestyle. Fermented, raw, super foods… she did her research and her passion for this field really shows, especially in her app The Whole Pantry (TWP). One of her recipes listed in the app is this raw Caramel and Macadamia Cheesecake. I decided to make it for the first time this week and took it to my family’s Christmas lunch today.

I was pretty disappointed. I mean, Macadamias aren’t cheap!

Mum’s comments: “It’s boring, there’s no flavour.”
My comments: “All I taste is coconut!”
Hubby’s comments: “I like this. Yum.”

It didn’t even look the same. Mine was white. Surely I left something out… *re-read singredients* Nope. It’s all there. Even the caramel sauce was thick and pasty, not like a sauce/topping, and certainly not resembling the beautiful recipe photo above.

Usually her recipes are ah-mazing. The quinoa “meat balls” are really nice, and the biscuit recipe is one of the Hubby’s fave. I’m confused!

I’m sure she doesn’t want me to give out all the recipes on the app but this one I want to share because I don’t know where I went wrong. Make it, show me your pics, tell me I’m not just a shit cook?!
FOR THE CRUST:
150g sunflower seeds
115g shredded coconut
60ml rice malt syrup or honey
1 tbs melted coconut oil

FOR THE FILLING:
240ml coconut cream
225g macadamia nuts
120ml melted coconut oil
60ml rice malt syrup
2 tsp vanilla bean extract
1 lemon, juiced

FOR THE TOPPING:
18 pitted medjool dates
120ml coconut cream

 photo photo1-1.png

Grind the sunflower seeds and coconut in a food processor for about 30 seconds. Add remaining ingredients and process for a further 30-60 seconds until mixture is coated and comes together. Flatten mixture out into an even base of a 20cm spring-form tin. store in the fridge while making the filling.

In a blender or food processor add the ingredients and blend for 1-2 minutes until creamy texture is achieved. Pour filling on top of crust, place in fridge whilst making the topping.

For the caramel topping blend the dates until a paste is formed, scraping down the sides when needed. Add coconut and whizz for 30 seconds. You can serve it with the sauce drizzled over it, or make it as another layer to freeze.

And that’s it.

Now look at mine… WHITE!

 photo Untitled-1-1.png

 photo piiii.png

 photo photo3-2.jpg

The Best Time Of Year

I can’t believe it’s already November. And halfway through it, at that. Crazy.
Yesterday we put the Christmas Tree up. Usually we wait til the first Saturday in December, a tradition from when I was a kid. But 3-4 weeks of Christmas just isn’t enough for me. I want to enjoy my decorations and the spirit of the season. So hubby dragged the tree down from the roof and while Olivia ate pasta in her high chair I got to assembling the tree.
This year we’ve put less decorations on. Last year you could hardly make out the tree under the amount of baubles we had so this year it seems a bit bare but it’s also kind of nice and simple. We got Olivia to put the tree topper on, with her Dad’s help of course.
The best part of putting the Christmas Tree up has been teaching Olivia not to touch it. That was sarcasm by the way. We had a barrier/cage around it at the start but she is too clever for those contraptions now. She just pulls it away or reaches through the bars. So… a good old “ah ah ah AH!” or “Olivia, NO!” when the tree starts to topple has been working for us. The poor thing just want a candy cane I think!
Smelling the tree – the only thing she is allowed to do with it.
I’ve got a fair few decorations around the house. There’s little bits of Christmas all around my house but I didn’t photograph them all. It’s been fun buying all the decorations designed for kids! I’ve even got a “Santa Stop Here” sign for the garden in the front yard. 
I was stoked to find an “Outback Shack” gingerbread house kit in Coles last week. Completely unhealthy and full of shit but it’s once a year… and “outback shack”?! How Aussie can you get! And it’s totally me (my passion and past lies with farm life). I was excited to start decorating it the other day, while Olivia was asleep. It was going okay at the start.. I even manage to add some colourful balls. Yay! And then I wanted nothing more than to chuck the fucking thing in the bin. It wasn’t working. The awning wouldn’t stay up and the whole thing collapsed into a pile.
So I left it like that and put it in a container and we’ve been eating it all weekend. Hello sugar headaches!
Do you love or loathe Christmas?

Raw Cheesecake Recipe

I hate cheesecake. I always have. But raw cheesecake… well I could eat that every day! It’s soooo good. And whats better is it’s actually good for you! And so easy to make even though it doesn’t look like it. I wanted to share this post now, because with the weather warming up (at least here in Oz!) it’s a great dessert to take to a backyard BBQ or to have stashed in your own freezer as a sneaky dessert at night.

There’s lots of raw cheesecake recipes floating around lately. I’ve adapted this one from here. Because who doesn’t love berries? You can easily leave the berries out if you want though.
Raw Cheesecake
For the base:
  • 3 cups macadamia nuts or peacans (I’ve tried both with happy results)
  • 1 1/2 cups medjool dates, pitted
In a springform pan lightly spray some coconut oil on the base and then sprinkle a layer of desiccated coconut over it. This will prevent the crust from sticking.
In your food processor, combine the base ingredients well. You may need to add an extra date or two. 
Press the mixture down firmly into your tin and then pop it in the freezer.
For the filling:
  • 3 cups cashews, soaked for 2-3 hours in filtered water
  • 3/4 cup lemon juice
  • 3/4 cup raw honey or agave
  • 3/4 cup coconut oil
  • 1/2 cup water
  • 1 tsp vanilla essence
Combine all the ingredients in your food processor and blend until smooth. Adjust to taste (I often put some more lemon juice in). Pour half or 3/4 of the mixture over the top of your base and tap the pan on the bench to remove air bubbles. 
Place some frozen raspberries in the mixture… just gently press them in with your finger.
Add a handful of frozen berries to the remaining filling in your food processor and blend until the berries are combined. Pour this over the top of the plain filling and then place the cheesecake into your freezer carefully.
Leave it in your freezer until it’s firm… at least 4 hours. You can remove it from the pan once it’s frozen and slice it. I keep mine in the freezer and take a piece out onto the bench top 30 minutes before eating it. If you had this for a party, I’d recommend taking it from the freezer to your fridge about 3 hours before you want to eat it!
You could also make a raspberry sauce up to drizzle over it before serving by blending some dates and berries together. I usually just top it with some berries and maybe a drizzle of agave. Options for this cake are endless!

It’s not the cheapest of cakes to make but it does last quite a while, as it’s kept frozen, and it’s large!
I want to take this cake to someones house and see if they notice that it’s not a “real” cheesecake… that would be fun 😉

Raw Caramel Slice

This slice is to die for! I posted it on Instagram and Facebook and got a lot of requests for the recipe so I just had to share. It’s so easy to make, and is actually healthy for you, even though you feel a little bit naughty when eating it. I was pleasantly surprised by how fudgey and, well.. caramel-y the caramel layer was. It turned out perfectly! The best thing is the tiniest piece is so rich and sweet (but not an over-whelming type sweet) that you really don’t need much and it lasts forever!


Raw Caramel Slice

For the base:

  • 2 cups dessicated coconut
  • 12 medjool dates, pitted
  • 1 tsp water
Put all ingredients in a food processor and whizz until combined. It will take a few minutes to come together, don’t despair! Start with 10 dates and add a couple extra if needed. I ended up using 12 and a half this time, as 10 wasn’t enough to make the mixture sticky.
Once combined well, press firmly into a slice tin lined with baking paper. I used a 7″ x 7″ pan. One of my favourite tricks is to use another piece of baking paper to press the mixture down. That way it won’t stick to your hands or be lifted by a spatula/spoon.
Pop the tray into your freezer.
For the caramel:
  • 1 cup macadamia nuts
  • 1 cup tightly packed medjool dates, pitted
  • 1/2 tsp vanilla
  • 1/2 tsp water
Pulse the macadamias briefly. Add the rest of the ingredients and process until smooth. Be patient – it WILL become smooth! Remove the base from the freezer and spread it evenly on top. You can use a spatula, your fingers or another piece of baking paper to get an even coverage. Put it back in the freezer.
For the chocolate:
  • 1/3 cup raw honey (maple syrup, rice malt syrup and agave should work fine too)
  • 1/2 cup coconut oil, not melted
  • 2 tbs raw cacao powder
Place all ingredients in your processor and whizz it until it’s smooth. Pour evenly over the top of your caramel layer and again put it back in your freezer. After an hour or so, it should be set enough to slice up.
You can keep this in the fridge or freezer but I leave mine in the freezer and take a piece out a couple minutes before eating – the consistency is just right! 
You could use cocoa instead of cacao but remember cacao is so much better for you! You could even add a tablespoon of it to the base if you like things chocolaty. Using a liquid sweetener such as agave instead of honey will make this dessert vegan. 
Leave me a comment if you give this recipe a go, I’d love to hear your feedback!

Visual Veggies

Let’s talk veggies.
The above picture is from today’s produce shop with the hubby. I’ll probably duck out to the shops mid week to pick up a few odds and ends, but this is the bulk of our produce for the week. I should clarify those oranges will last longer than a week though – it was just cheaper to buy that many at once 😉
It might be obvious to some, but I’ll list what we have here:

  • 1 big ass box of oranges, fresh from a local orchard ($10! Bargain!)
  • 1 kilo bag of carrots (most of which is for a cashew, curry and carrot soup)
  • chunk of watermelon
  • 4 punnets of strawberries
  • 2 brown onions
  • 2 bunches of asparagus
  • 5 apples
  • bag of mushies
  • 2 cucumbers
  • 2 washed potatoes
  • 1 kilo bag of tomatoes
  • pack of baby spinach leaves
  • 7 limes
  • punnet of cherry tomatoes
  • bananas
  • 4 grapefruit
  • 2 avos
  • 1 zucchini
  • garlic
  • sweet potato
  • green capsicum
  • 3 corn cobs
  • some pumpkin
  • lettuce
I had a few stragglers from last week lurking in my fridge too, like a red capsicum and corriander etc.

I wanted to take a picture because I wanted a visual of how much produce we were eating a week. Is most of it green? Is it a lot? Is it not enough? Obviously there are variants. Like what meals I’m cooking for the week. And what’s on special. But it’s given me a general idea of how much fruit and veg 2.5 people (O doesn’t eat quite as much as we do!) eat in a week.
My thought’s are

  • It’s more than I thought
  • Not enough greens
  • Less fruit than I thought
  • Nice variety
Have you ever done this? Why not take an image of your weekly produce shop? Maybe it can motivate you and others to eat more fresh and colourful foods. Maybe you’re doing better than you thought!

Blueberry & Banana Smoothie

Some mornings (or really any time of the day) I just can’t be bothered to create a meal. I can’t be bothered to think and I can’t be bothered to spend lots of time in the kitchen. And I can’t be bothered I don’t have the time to sit down and eat a meal let alone scratch my arm sometimes (ah, children). 
My solution on these types of days is this: SMOOTHIE! There’s always some spare vegies or frozen fruit in our house, and experimenting is half the fun. This one is full of antioxidants and is very filling! A great breakfast smoothie to get you going for the day.
Blueberry & Banana Smoothie
1 banana, fresh or frozen
1 cup of frozen blueberries
1/4 cup coconut water
1 tbs chia seeds
1 tbs flax meal
1 tsp agave or raw honey
Blend all ingredients thoroughly. Enjoy immediately (chia turns to a pudding!).

Cacao Nut Slice

This recipe isn’t my own. I’m not sure where it’s come from and who to credit, as my mum once emailed it to me and I’ve been making it every fortnight since! She still makes it regularly too as it’s such a healthy and delicious snack for at home or on the go. It’s kind of like a healthy crunchy muesli bar. It’s a staple snack in our house.
DISCLAIMER! The recipe below contains sugar. I know, I know… smack me on the wrist 😉 I’ve eliminated so much sugar from my diet that I really don’t panic about having 1/2 cup of it in this whole recipe. The slice takes about 2 weeks to eat so if I wanted to justify it, I could get my maths cap on and work out the tiny amount of sugar I’m consuming each day by eating one piece. But, I don’t care. It’s full of healthy nuts and seeds, and the carob and cacao powder pack a punch of nutrients and essential vitamins and minerals too. I eat cacao every day, and you should too! So here is another way to get it into you.
Cacao Nut Slice
  • 1 cup desiccated coconut
  • 1 cup rolled oats
  • 1/2 cup cashews, chopped
  • 1/2 cup almonds, chopped
  • 1/2 cup macadamias, chopped
  • 1/2 cup sunflower seeds
  • 1/2 cup pumpkin seeds
  • 1/2 cup sesame seeds
  • 3/4 cup dried cranberries*
  • 1/2 cup raw cacao powder
  • 1/4 cup carob powder
  • 1/2 cup raw honey
  • 1/2 cup raw sugar*
  • 125g butter*
Line a lamington pan with baking paper.
Combine all but the last 3 ingredients in a bowl. 
Place honey, sugar and butter in a medium saucepan and stir over heat until boiling. Simmer, and stir occasionally for 5 minutes. Pour it over the dry mix and combine well. Press mixture into the pan and bake at 180C for about 20 minutes or until browned. Let it cool in the pan before slicing into squares, rectangles, whatever shape you want!
Store in an airtight container in your cupboard. 
* Notes:
You can use sultanas instead of cranberries if you’re on a budget.
You could try using coconut sugar, but I’m yet to test this.
I use Nuttelex instead of butter as I’m dairy free, and sometimes I use half Nuttelex and half coconut oil. I’m not game enough to try 125g of coconut oil, as I’m suspicious it may make the slice too sloppy and fall apart. If you try it, let me know!
If you don’t have cacao and carob powder, you could use 3/4 cup of Milo as that’s what the original recipe calls for.

Easy Peasy Samosas

I love it when my husband tells me “This is good, I like this! It’s a keeper.” at dinner time. The first thing I do is print off the recipe and shove it in my folder I keep in the kitchen because it’s good to have that meal where you know you’ll please everyone! It doesn’t happen for every meal I’ve created and placed in front of him but hey, at least he is honest!

One of his favourite meals is samosas. They are so easy to do and a good way of getting your vegetables in. O loves them too, which is always a bonus because getting multiple dinners ready is hard when they aren’t all the same! This has been a fortnightly meal in winter because it’s one of those cozy hot foods that are comforting… like soup, you know? And we always get leftovers for lunch the next day.
I posted the picture of them on Instagram last night and had lots of positive feedback and recipe requests.
So here it is!
Easy Peasy Samosas
  • 2 tbs balti paste
  • 1/4 cup coconut milk
  • 500g vegetables (diced small, frozen or fresh)
  • 2 sheets puff pastry
Pre-heat oven to 170C.
Heat a large non-stick frying pan on medium and add the balti paste without oil, and stir for 30 seconds until it becomes fragrant. Add the coconut milk and stir until combined. I have to use the back of my wooden spoon to stop the paste going lumpy in the milk. Once it’s thickened a bit, add the diced vegetables. Coat the vegies in the sauce and let it cook for 5-10 minutes, but stir it often. Take it off the heat and thaw your puff pastry sheets. I cut mine into four small squares but it’s up to you!
With a pastry brush, brush some water along the edges of the pastry. Spoon some of the mixture into the center of the pastry and fold over. Seal the edges with a fork, or pinch with your fingers. Brush the whole samosa with a bit more water and you can even sprinkle some sesame or poppy seeds on top.
Pop them in the oven for 20-30 minutes. 
And that’s it!
Serve with a side salad, of course 🙂
I think any type of paste will work… tandoori, korma etc. I haven’t strayed from balti but might have to now that Coles has stopped stocking it (and 101 other things). Or I could learn to make my own.
You could also buy vegan pastry sheets if you wanted to.